Hardwood flooring is becoming an increasingly popular choice and many individuals seemingly prefer to have this type of flooring for a whole host of reasons. If you are considering acquiring hardwood flooring then knowing how to install the flooring is obviously a vital aspect, thus read on to find out how…
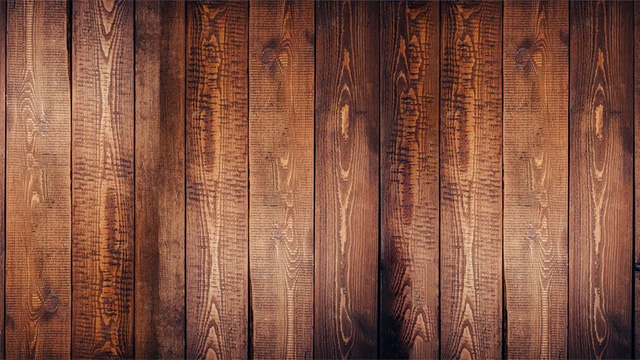
Hardwood flooring looks stunning, whether in a kitchen or part of a double storey extension. Installing hardwood floors is actually not as difficult as many of you may have anticipated. Most hardwood flooring is available in planks and so in this section, we’ll explain how to install this type of hardwood. Obviously, before you can start installing your brand new flooring you must make sure that the area is completely prepared and so everything must be out of the room and all of the previous flooring, whether it be carpet or tiles or anything for that matter, must be totally removed.
Now you need to fasten your hardboard planks to the surface of the room in question in order to create the look you so desire. This is actually quite easy and all you need to do is utilize two techniques, which are blind nailing and face nailing. It is extremely easy and hassle-free, especially with the utilization of a power nailer. If you don’t have one of these tools then it’s recommended to borrow one off a friend or rent one, you need not buy one if you think you won’t be using it much in the future.
Installing pre-finished hardwood floors
When it comes to pre-finished hardwood flooring installation many professionals highly recommend that you leave your wood in the room in question for at least fourteen days prior to the procedure of fixing the floorboards to the surface of the room. This gives the wood a chance to adapt to its surroundings. Just as mentioned earlier you need to make sure the floor is entirely prepared for the installation process, thus make sure everything is out of the room and the previous floor has been completely and utterly taken out.
Once you have done this you use the same procedure that was mentioned earlier; face nail. Thus once you are fully prepped and ready to go you really have done all the hard work as the installation itself is generally considered basic and not even time-consuming.
How to install hardwood floors on concrete
A lot of individuals love hardboard floors in their home and wish to have them in their room yet they often deter because they are unaware of how to install hardwood floors on to concrete. Nevertheless, for those of you whom this statement applies to you, are in look because this section will tell you exactly what you need to do it.
Obviously we must initially stress once again the importance of preparation as we have done in regards to the other installation variations. Once the floor is fully prepared then you can be ready to install your boards with the following essential products; moisture barrier, paint roller, adhesive, tape measure, saw, 1/4” round molding, and obviously your hardwood flooring itself.
Hardwood floor installation tips
Several local retailers and suppliers offer various options if you’re looking for hardwood flooring Barrie, Ontario where we’re from or anywhere for that matter. When choosing a hardwood flooring supplier, consider product quality, pricing, and customer reviews to ensure you make the best choice for your needs and budget.
Here are a few basic tips and tricks in relation to installing your hardwood flooring in order to give you a helping hand:
– Remember to begin working from your subfloor
– It is best to keep the room that you are installing the floorboards in as clean as possible thus it would be a good idea to do your cutting and other potential messy or dusty tasks elsewhere
– Finally, it is also very advisable that you make use of a tapping block.
Comments are closed.