
via: @bb.by.brittinialexandra
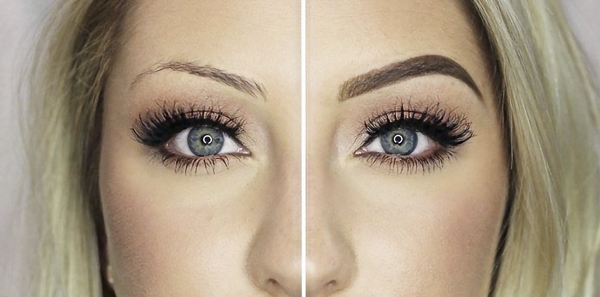
Do you want perfect eyebrows as soon as you wake up in the morning? Then microblading may be the best choice for you. Microblading is the latest beauty game changer: it is super convenient, increases your confidence and saves you precious time.
If you’re considering microblading, you probably have a lot of questions. Does it hurt? How long does it last? What is the actual process? Well, we asked eyebrow expert and owner of B. Beautiful Studio in Toronto, Brittni Alexandra, to guide us through the entire process. “The procedure itself is only about 10 percent of the actual experience,” says Brittni. “What happens in the following 30–45 days is where the true results lie!”
Via: @bb.by.brittnialexandra
So, what exactly is Microblading?
Microblading is a manual method of cosmetics for your eyebrows, which creates extremely fine, natural looking hair strokes. The strokes created are not very deep, which makes them semi-permanent. It is similar to a tattoo, but unlike a traditional tattoo, microblading uses a different ink which prevents the colour from turning blue or orange and uses less ink so that it will naturally fade over one to three years. Also, unlike a regular tattoo, a microblading technician does the work freehand rather than using a machine to fill in or draw the eyebrows. “It is important to go to someone that is a licenced aesthetician,” says Brittni, “because different skin types can and will react differently to the ink and technique. You need to be in the hands of someone who knows how your skin will react.”
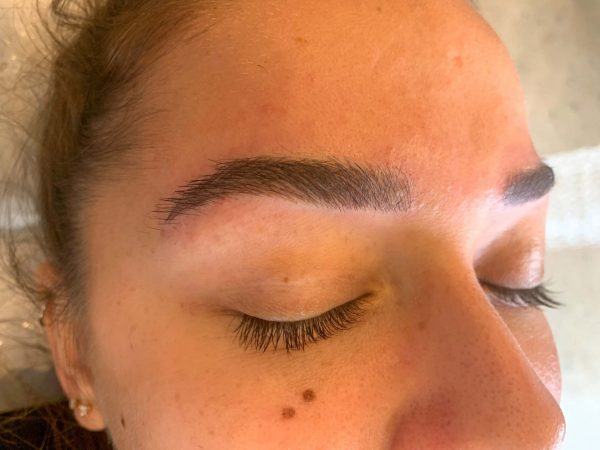
Step 1: Consultation
Despite its popularity as a cosmetic tool, microblading is considered a medical service and any reputable establishment will require you to have a consultation. During your consultation, your technician will explain the entire procedure in detail, address any questions or concerns you may have and go over all required paperwork. The consultation is also important because the technician will explain the aftercare restrictions and will help you plan accordingly. After you finish your consultation, you’re on your way to starting your microblading experience.
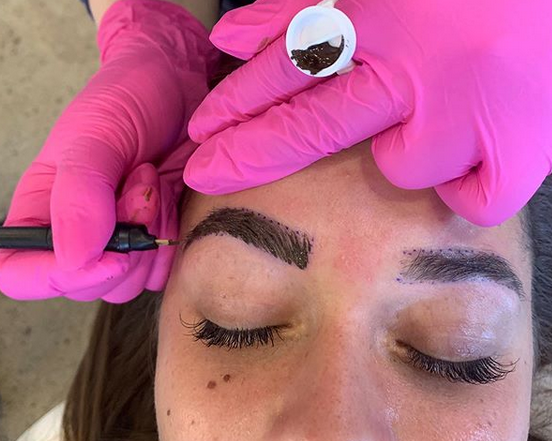
Eyebrows being microbladed. via: @bb.by.brittinialexandra
Step 2: Procedure
The day is finally here! Make sure you block off about two hours for the procedure, maybe longer depending on your current brow shape and amount of hair. The procedure itself can be a little uncomfortable, especially for those who have more sensitive skin. The pigment is applied with a specific tool that has a row of several fine needles. These tiny needles are the key to creating thin hair marks in the skin. The pigment is bladed just below the epidermis and the shallowest part of the dermis resulting in extremely natural results. You will have to wait about four to six weeks until it has all healed to tell the exact results of the procedure. That’s why a touch-up is typically included six to ten weeks after the initial treatment. “Microblading is a safe procedure, especially if your technician is using the best quality tools,” says Brittni. “We use only new tools on our clients, nothing is reused.”
Step 3: Aftercare
This is the most crucial part of the entire process and it is all up to you! Make sure to follow the aftercare instructions for a minimum of 14 days after your procedure to ensure the best results from your microblading session. Your technician will go over these with you but some aftercare includes avoiding anything on the brows, including water, except for cleansing as directed. You also want to refrain from any water-related activities such as pools, beaches, hot tubs and saunas for at least 30 days post-procedure. For the first little while, keep your showers to five minutes and leave washing your hair and face until the very end. Also, you may find that your eyebrows will scab or become slightly dry and itchy following your procedure. You may use a tissue to lightly tap them to alleviate the itch, but DO NOT SCRATCH THEM. Lastly, avoid using daily skincare products directly on your brows especially acid or exfoliates such as Glycolics or Retinols. You should also avoid any other treatments on your face like facials, chemical treatments or microdermabrasion for at least four weeks after microblading.
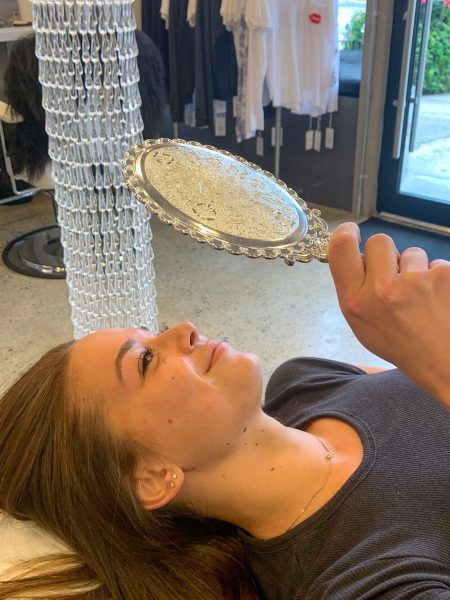
The results of microblading are worth it. via: @bb.by.brittnialexandra
Step 4: The Results
Over the first few days, your brows will appear bolder than usual. This is because after your procedure your brows will darken during the healing process. This is totally normal and not an indication of how your brows will heal. Around seven to fourteen days, you may notice some flaking/shedding of the skin near the brow area. When the skin flakes off, the microblading strokes may appear lighter or as if they have disappeared. This is because there is still a thick layer of protective skin creating a veil over the pigment. Once you go through a skin regrowth cycle (four to six weeks) the pigment will typically reappear but will be about 30–50 percent lighter than it was immediately after the procedure.
“The most important advice is to do your research on the studio you book,” says Brittni. “Ensure the person who is performing the procedure is a licensed aesthetician, is experienced, uses clean tools and will guide you through the entire process. The second most important part is following the aftercare instructions exactly as the technician explains. It may take a bit of time, but the lasting, beautiful results are worth it!”
Want to talk to an expert or need microblading now! Visit B.Beautiful.
Comments are closed.