Tutorial 3: Polka Dots Galore!
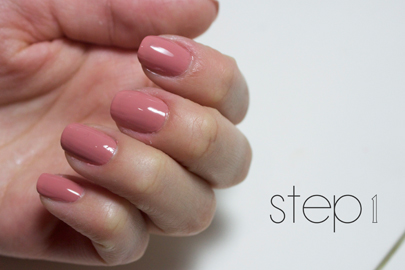
Step 1: To start off with this tutorial, paint your base with two coats of your preferred polish.
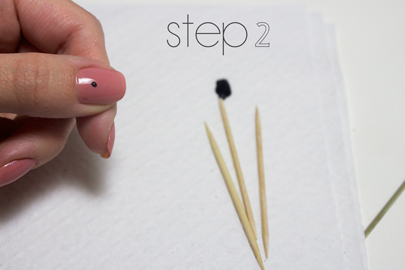
Step 2: Using a toothpick, flatten out the edge by pushing down on a hard surface. The pointy tip should break off and you’ll be left with a larger tip. Using a paper napkin or paper plate, leave a little drop of nail polish on the surface for you to dip your toothpick in as you design your nails.
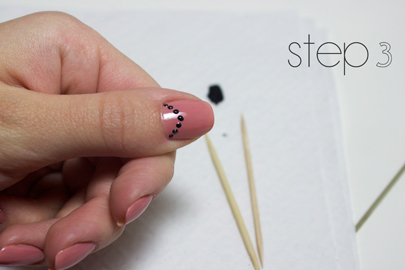
Step 3: Dip your toothpick into the nail polish drop and start to design on your nails. Remember to mentally map out where every dot will go before painting it in.
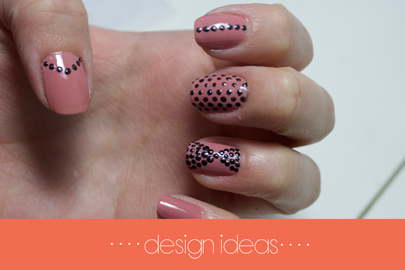
Step 4: Once you get the hang of it, you can try different designs and patterns. I did a few different ones to show some variety but most importantly, wait until the polish is 100% dry and slowly apply a topcoat to make sure the black polish will not smudge.
NEXT: Tutorial 4: Ombré sparkles >>
Comments are closed.